-
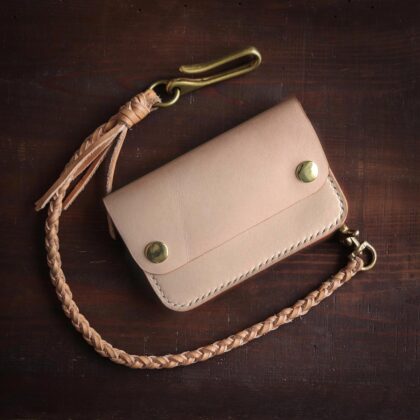
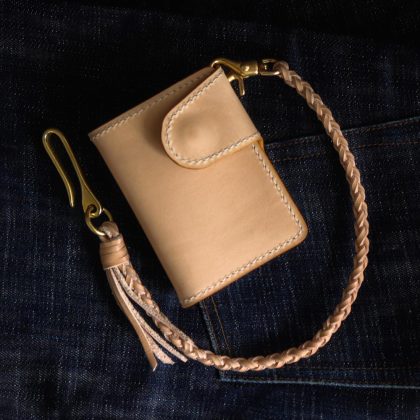
Trucker Wallet Short Natural
kr 2400 – kr 2700 -
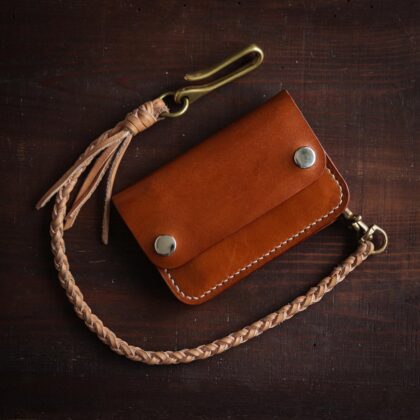
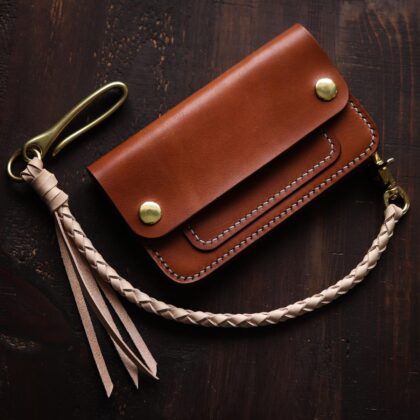
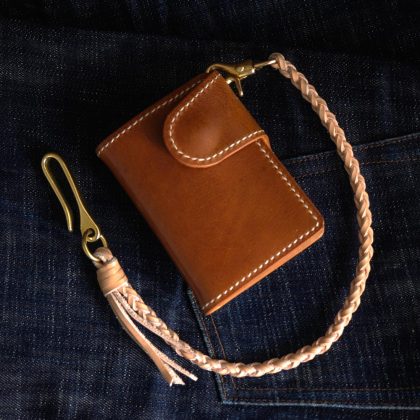
Trucker Wallet Short Brown
kr 2400 – kr 2700 -
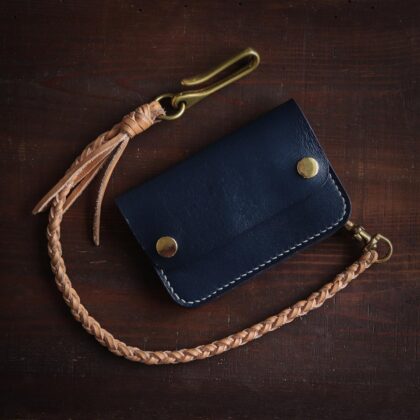
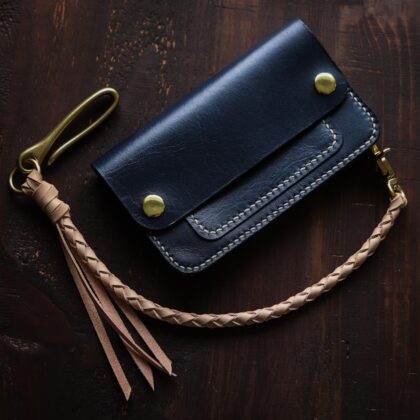
Trucker Wallet Short Blue
kr 2400 – kr 2700 -

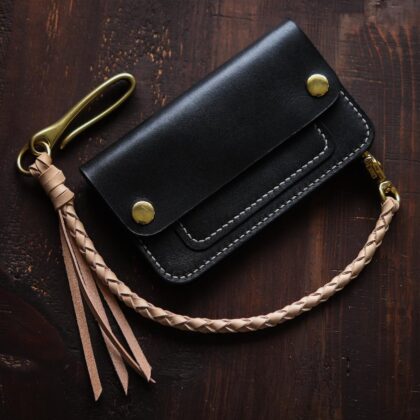
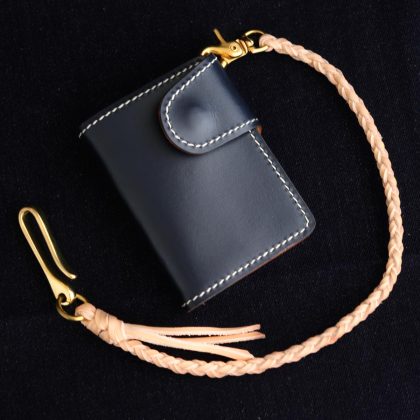
Trucker Wallet Short Black
kr 2400 – kr 2700 -
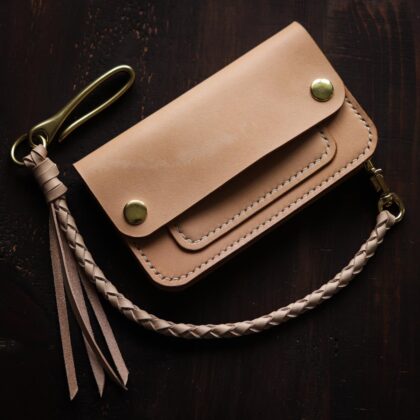
Trucker Wallet Mid Natural
kr 2700 – kr 3000 -
Trucker Wallet Mid Brown
kr 2700 – kr 3000 -
Trucker Wallet Mid Blue
kr 2700 – kr 3000 -
Trucker Wallet Mid Black
kr 2700 – kr 3000

-
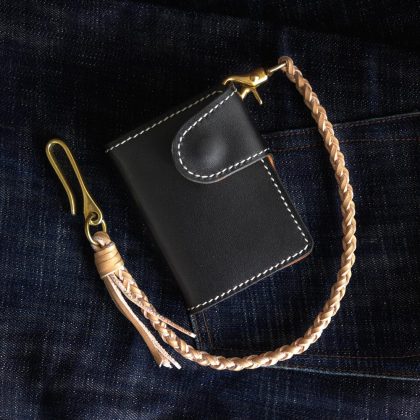
No. 62 Leather Biker Wallet Black
kr 1895 – kr 2195 -
No. 62 Leather Biker Wallet Brown
kr 1895 – kr 2195 -
No. 62 Leather Biker Wallet Natural
kr 1895 – kr 2195 -
No. 62 Leather Biker Wallet Blue
kr 1895 – kr 2195
-
Heirloom Double Leather Belt
kr 1990 -
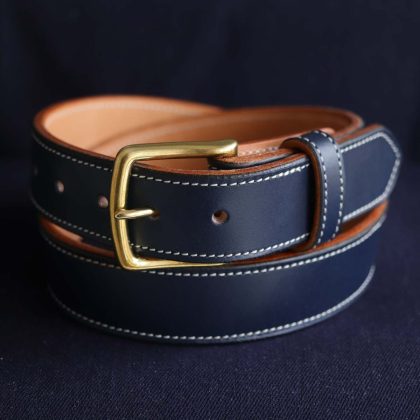
Denim Blue Double Leather Belt
kr 1990 -
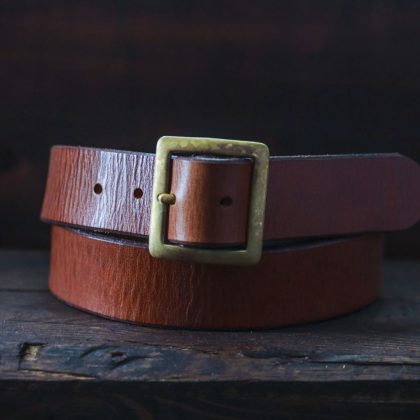
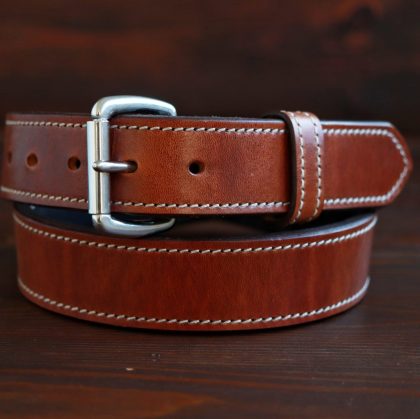
Vintage Brown Garrison Leather Belt
kr 1490 -
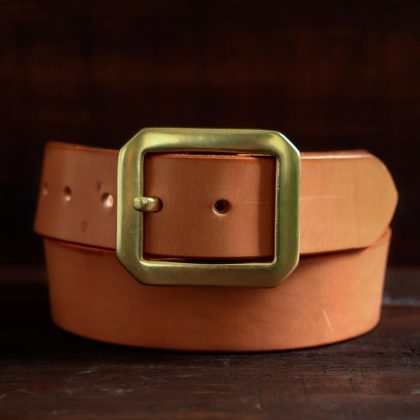
No. 6 Natural Garrison Leather Belt
kr 1490 -
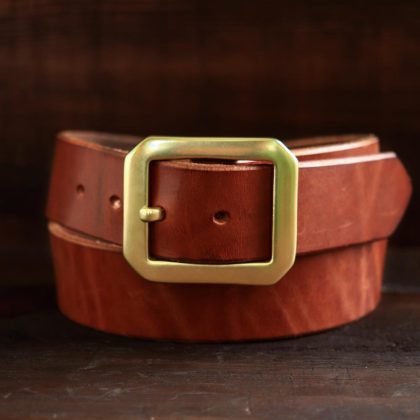
No. 6 Brown Garrison Leather Belt
kr 1490 -
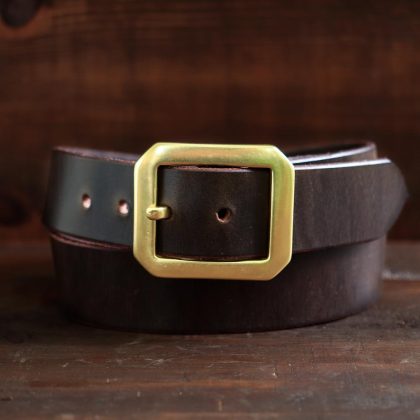
No. 6 Dark Brown Garrison Leather Belt
kr 1490 -
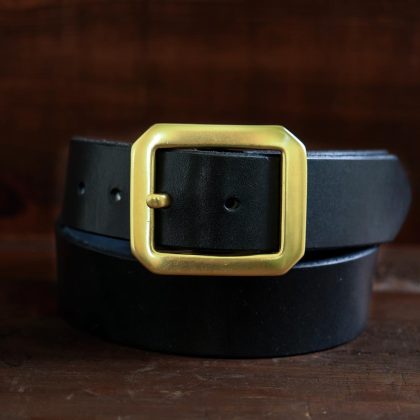
No. 6 Black Garrison Leather Belt
kr 1490 -
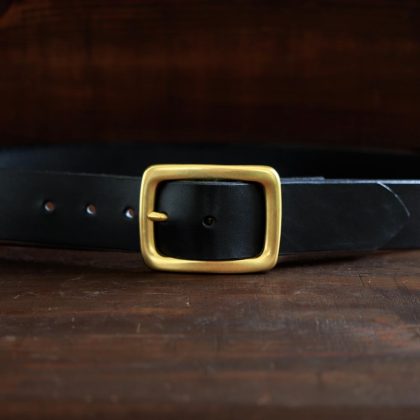
No. 5 Black Garrison Leather Belt
kr 1490
-
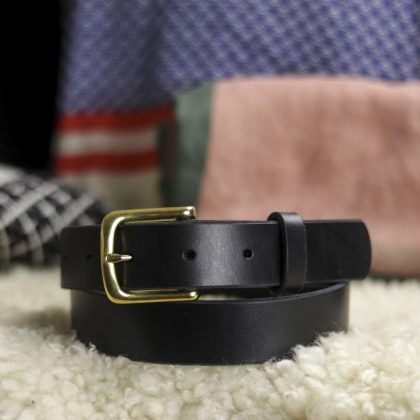
Classic Slim Leather Belt Black
kr 1400 -
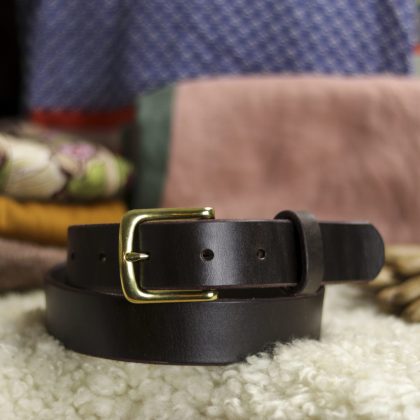
Classic Slim Leather Belt Dark Brown
kr 1400 -
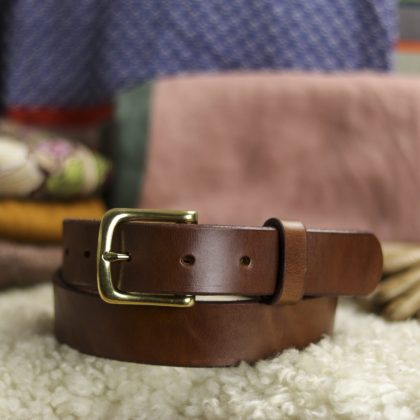
Classic Slim Leather Belt Brown
kr 1400 -
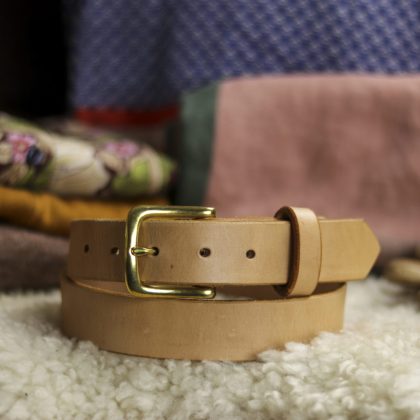
Classic Slim Leather Belt Natural
kr 1400
The quality speaks for itself. You can find a less expensive wallet, but I always was told, buy once, cry once and be done with it. 👍
Extremely satisfied with my belt, the buckle is amazing and the leather quality is very good, it’s a thick belt.
I’m already thinking about getting another one. Overall a very pleasant shopping experience, also due to the direct contact throughout the whole process. A++ recommended
Mycket bra kvalitet och snabb leverans!